Posts

Featured Post

Install MX Linux on Mac Mini (late 2009)

Image
We manage to install MX Linux successfully without any modification on the drivers. After installation, we just need to add our desired software. The only concern is that MX Linux uses System V instead of Systemd. While MX uses init.d to kick start servcies, systemd was installed but disabled in the background. This cause confusion when we install some software packages. These software packages detects systemd was installed and configure the software services using systemd file. This scenario happened when we try to installed RealVNC server. There're workaround to resolved this issue. Preparing USB We download MX Linux iso image from the website . MX Linux is a variant of Debian. Once we downloaded the image, we burn the iso image to USB using Etcher. For those who need a tutorial for burning image to USB  please refer to the Ubuntu tutorial . Installing MX Linux Once we booted into the live image, we can test the OS without installing the system. To in...
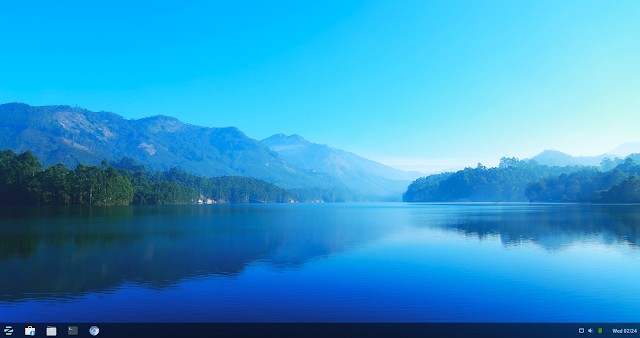
Install Zorin on Old Mac Mini (late 2009)

Image
This is the last installation for old Mac Mini (late 2009). The last Linux distribution we tested is Zorin. Zorin works fine, however, we encounter some bluetooth redirection issue and intermittent Wifi connection issue. Preparing USB Drive Since Zorin is based on Ubuntu and Debian, we can prepare the USB drive using the Ubuntu USB drive tutorial here . Installation of Zorin Fir we bootup the USB drive using the option key (alt key). Then we will be asked to try or install Zorin. Select Try Zorin . The Zorin desktop will appear as follows: You can try testing with Zorin to see if it fits your taste. to install Zorin, click on the app icon at the top left corner of the desktop. The welcome screen will appear as above. Click Continue . Click both option on the screen above to install Zorin and update at the same time. Click Continue when done. On the screen above, we are asked to confirm if we want to wipe the disk for fresh i...

Install Solus on Old Mac Mini (late 2009)

Image
This is part of a series of post on installing various Linux distribution on old Mac Mini 2009. Surprisingly, Solus is one of the successful installation. The system could not installed the wifi driver but we managed to work out the solution on building the driver.  Preparing USB Drive Solus suggested we use Etcher to burn the image to USB. We manage to burn the iso image using Etcher. Booting Up Solus As usual, boot up the USB driver using option key (alt key). Select to try Solus and the system will boot into Solus. Installing Solus On the desktop double click Install OS as shown below: Once the installation wizard is brought up, the following screen appear: Select the language of your choice as shown below. Click Next to continue. This screen allows the system to auto-detect your location. Usually, we skip this part. Click Next to continue. Select a keyboard layout and click Next . Select the desire t...

Install RealVNC on MX Linux

We encounter problem when installing RealVNC server on MX Linux. In this post, we are going to highlight the issue we encounter and our workaround solution. Background First, we would like to introduce some background on MX Linux. MX Linux still believes in System V to manage software services. While most distribution have migrated to systemd, MX Linux still relies on init script to run services. However, MX Linux still install systemd in the OS but it disable systemd by default. Issue We encounter issue when we download and install RealVNC server. The software packages installed successfully, but the software configure the server services in systemd file. This is because the software packages detects that systemd was installed and therefore, it assumes that systemd is active. We could not force the software to configured in init script. Workaround Solution We manage to get the software to generate the init script by removing systemd from MX Linux. This acti...

Introduction to Docker Series

We have written a series of posts introducing the basics of docker. We focus on working with docker and creating image. We did not cover scalable deployment using docker. Please refer to the following post: Introduction to Docker - Day 1 Introduction to Docker - Day 2 Introduction to Docker - Day 3 Introduction to Docker - Day 4 Introduction to Docker Day 5 Introduction to Docker Day 6 (Final) ***

Install Antergos on Virtual Machine

Image
We do not have our luck when installing Antergos on old Mac Mini (late 2009). Same as other Arch Linux system, the system keeps having soft lock and hangs. While we manage to stabilized the system after upgrading the video driver and kernel in Manjaro. We could not perform such upgrade in Antergos. So we decided to test Antergos using Virtual Box. The main advantage of Antergos is that we can use the same iso image to install different desktop environment.  Preparing USB or ISO Image If you are going to install on a physical machine, you can burn the iso image to an USB drive using command dd. For virtual machine, we just need to attached the iso image to the virtual CD-ROM. Preparing Virtual Machine To install Antergos into virtual machine, please make sure that we have a minimum of 10GB virtual HDD space. It is best to set the virtual HDD size to at least 20GB. Otherwise installation will failed. Installing Antergos Once we boot into the iso image, ...